

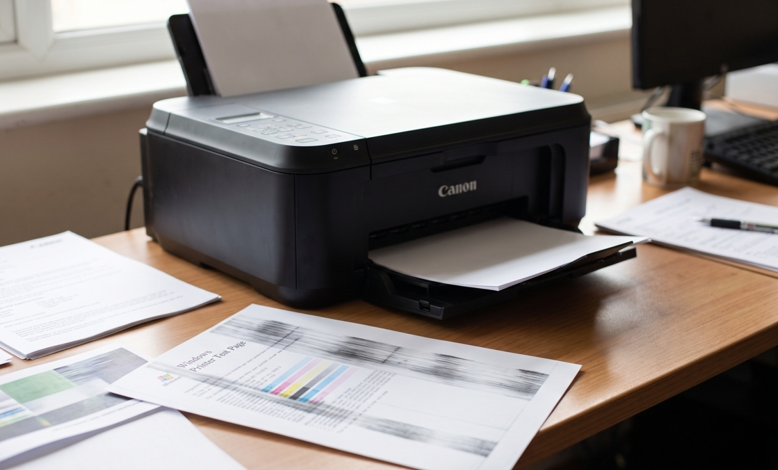
You print an important page and find faint lines running across it, or a pale copy of the last page showing through. It looks unprofessional, and it often appears out of nowhere on a printer that worked fine yesterday.
Streaks and ghosting are common on Canon printers and usually easy to fix. Many cases come down to ink, toner or a dirty part. If you use a PIXMA G-series printer, fresh, correctly matched supplies such as Canon 41 C Cyan compatible ink can clear up weak or streaky cyan tones. Here is what causes these problems and how to deal with them.
What Are Ghosting and Streaks?
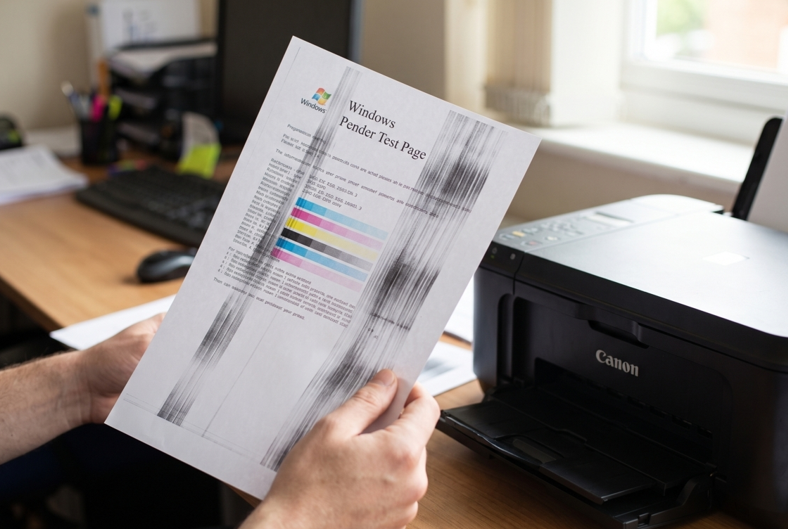
- Streaks and lines: Straight marks, bands or missing colour across the page, running with the paper.
- Ghosting: A faint, repeated image of an earlier print, mostly seen on laser printers.
- Banding: Light and dark stripes, common on inkjet and ink tank models.
Telling them apart helps you find the cause faster.
Common Causes
- Low or empty ink or toner
- Clogged print head nozzles on inkjet printers
- A dirty or worn drum, roller or fuser on laser models
- Dust and paper debris inside the printer
- Poor-quality or damp paper
- Wrong print quality or paper type settings
- A cartridge or ink that doesn’t suit the printer
6 Fixes to Try
Fix 1: Check Ink and Toner Levels
A low colour level is the most common reason for streaks. If one colour runs out, prints look faded, striped or tinted. Check the levels on the printer or in your software and refill or replace what is low.
Fix 2: Run a Nozzle Check and Cleaning Cycle
On inkjet and ink tank printers, open your printer’s maintenance settings and print a nozzle check pattern. If lines are missing, run the head cleaning function. Repeat once or twice, but don’t run it endlessly, since cleaning uses ink.
Fix 3: Check Your Paper
Damp, wrinkled or very cheap paper can leave marks and cause ghosting. Use fresh, dry paper that suits your printer, store it flat, and match the paper type in your print settings to what you loaded.
Fix 4: Adjust Print Settings
Printing in “draft” mode can show lines and light areas. Switch to standard or high quality for important documents, and choose the correct paper type so the printer applies the right amount of ink or heat.
Fix 5: Clean Inside the Printer
Switch off and unplug the printer. Use a dry, lint-free cloth to wipe visible dust and paper debris from the paper path and rollers. Never use water or sprays inside the machine, and don’t touch the drum surface on a laser printer.
Fix 6: Reinstall or Replace the Cartridge
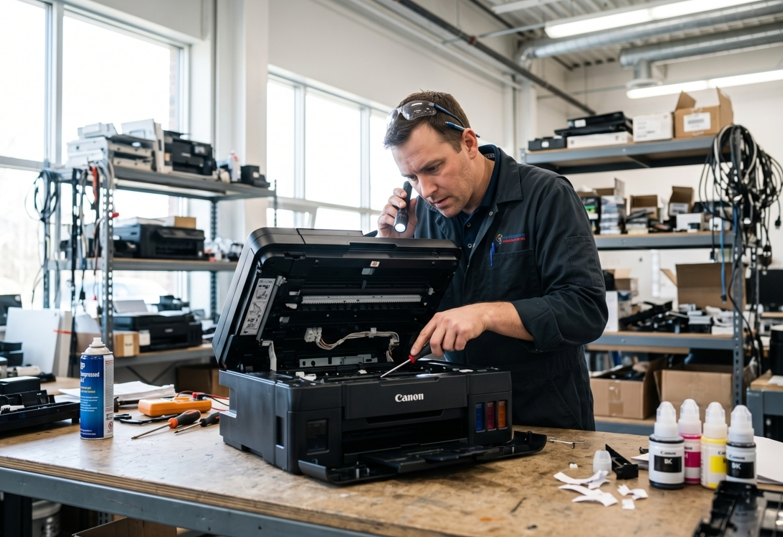
Remove the cartridge and put it back until it clicks. If a laser cartridge is leaking or old, replace it. If streaks continue after a new cartridge, a worn drum, roller or fuser may be the cause. A professional Canon printer repair in Dubai service can test those parts and fix them without you replacing the whole printer.
How to Prevent Streaks and Ghosting
- Print a few pages every week so ink doesn’t dry in the nozzles
- Use quality paper and keep it dry
- Keep the printer in a clean, dust-free place
- Replace ink and toner before it runs fully empty
- Choose supplies that match your exact printer model
- Turn the printer off with the power button, not at the wall
When Should You Get Extra Help?
Consider asking a technician if:
- Streaks remain after cleaning and new ink or toner
- The same lines appear on every page in the same place
- Ghost images keep returning
- You hear grinding or clicking noises
- The printer smells of burning or overheats
These signs often point to worn internal parts. Opening a printer without training can damage delicate components, so leave internal faults to a professional.
Final Thoughts
Streaks and ghosting look serious, but the cause is usually simple: low ink, a clogged head, dusty parts or the wrong settings. Work through the fixes in order, keep your printer clean, and use supplies that suit your model. If the marks stay, get the printer checked and get back to clean, professional prints.